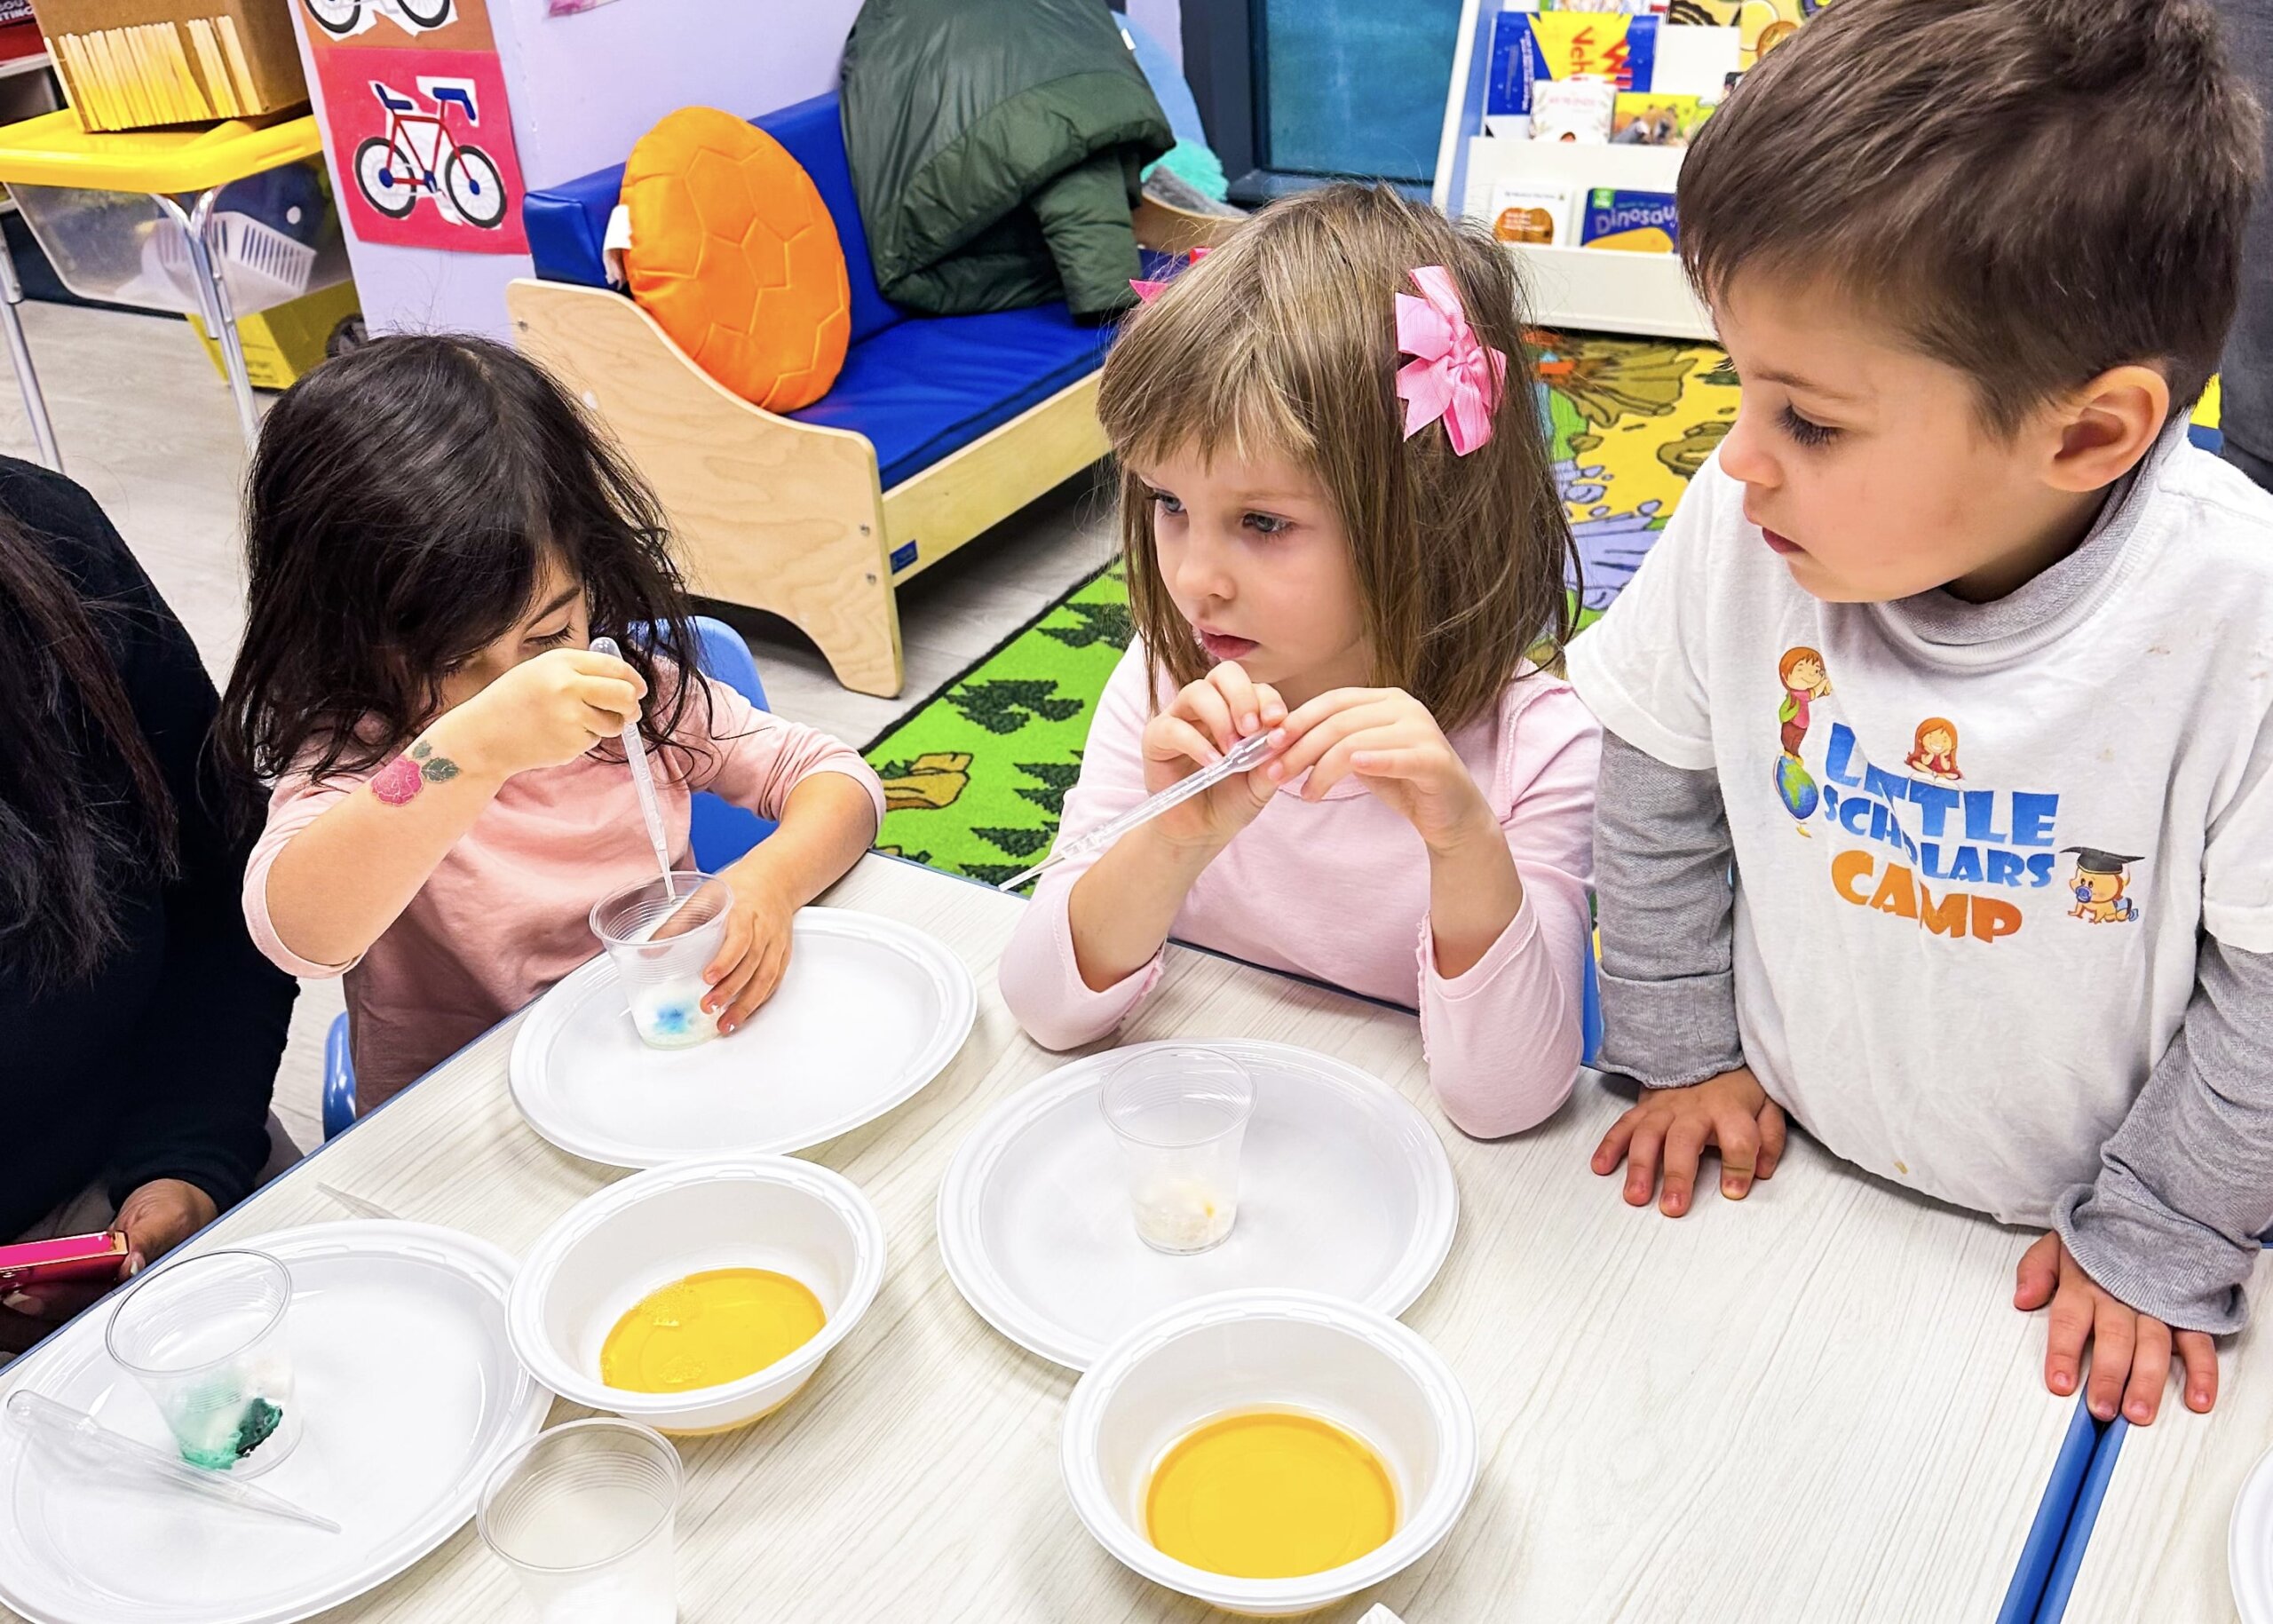
Science education lays the foundation for critical thinking and problem-solving from a very young age. At Little Scholars, we run hands-on science experiments with our toddlers and preschoolers every week across all 8 of our NYC centers.
The experiments below are ones we have actually tested in our classrooms. We know which ones hold a two-year-old’s attention, which ones work on a kitchen table with no prep, and which ones produce the “wow” moment that makes kids want to do it again.
Discover our list of 30 easy DIY science experiments designed for toddlers and preschoolers to learn and have fun, at home and outside. Dive in to see how toddler science activities can be a delightful adventure for your little one!
Why DIY Science Experiments at Home?
DIY science experiments are a gateway to unlocking your child’s natural curiosity and enthusiasm for learning. They transform abstract concepts into tangible, memorable experiences, making the wonders of science accessible.
Through at-home science activities, children grasp scientific principles and develop critical thinking and problem-solving skills in an engaging manner. Embracing these experiments at home creates a learning environment where children and parents learn together.
DIY Science Experiments by Age (for Toddlers and Preschoolers)
Here is a complete list of science experiments for kids we have tried with our children.
For other cues, we have a post featuring many show-and-tell science ideas to try at home.
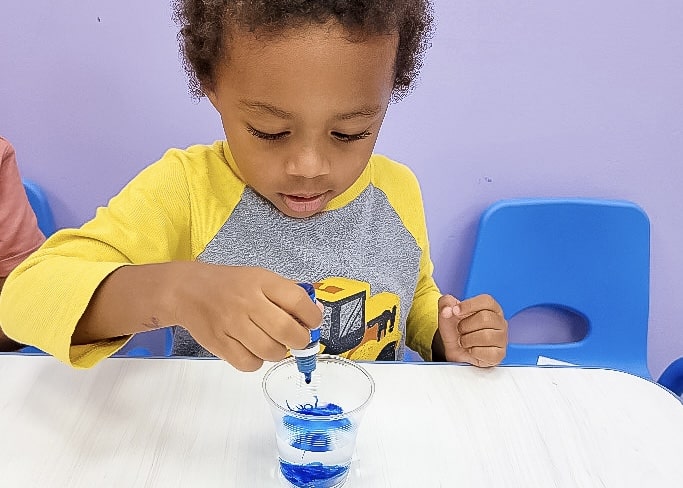
Toddlers Science Experiments (Ages 2–4)
These 15 easy science experiments for kids are meant to pique their interest and promote exploration. Additionally, look into Little Scholars’ Toddler Program, which offers supervised STEM projects for kids designed for kids ages 2–4 for a sensory-rich experience.
1. Color Mixing
What you need: Food coloring, water, clear cups
How to do it: Fill separate cups with water and add red, yellow, and blue food coloring. Let your child combine them in different cups to create new colors.
Why it works: Red, yellow, and blue are primary colors. When mixed, they produce secondary colors: red + yellow = orange, blue + yellow = green, red + blue = purple.
2. Sink or Float
What you need: A bowl of water, various household objects (coin, sponge, apple, key, cork)
How to do it: Ask your child to predict whether each object will sink or float before dropping it in.
Why it works: Objects sink when they are denser than water and float when they are less dense. This introduces buoyancy without any math.
3. Magnetic Attraction
What you need: A magnet, a mix of magnetic and non-magnetic objects (paperclip, coin, pencil, rubber band, spoon)
How to do it: Let your child drag the magnet across a table of mixed objects and observe which ones stick.
Why it works: Magnets attract metals that contain iron, nickel, or cobalt. Objects without these metals are unaffected, which is why a steel paperclip sticks but a plastic button does not.
4. Baking Soda and Vinegar Volcano
What you need: Baking soda, white vinegar, a cup or container, dish soap (optional, for more foam)
How to do it: Put 2 tablespoons of baking soda in the cup. Pour in vinegar and watch the reaction.
Why it works: Baking soda (a base) and vinegar (an acid) react to produce carbon dioxide gas. The bubbles are CO2 escaping the mixture, the same gas in fizzy drinks.
5. Bubble Science
What you need: Water, dish soap, glycerin (optional), straws or pipe cleaners bent into loops
How to do it: Mix 6 parts water, 1 part dish soap, and a small amount of glycerin. Dip your loop and blow gently.
Why it works: Soap lowers the surface tension of water, allowing it to stretch into a thin film. The glycerin strengthens the film, making bubbles last longer before popping.
6. Plant Growth
What you need: A clear plastic cup, potting soil, fast-germinating seeds (bean or sunflower), water
How to do it: Fill the cup with soil, press a seed near the edge so it is visible through the plastic, and water lightly. Place in a sunny spot and check daily.
Why it works: Seeds contain stored energy that activates when they get water and warmth. Roots grow downward in response to gravity; the stem grows upward toward light.
7. Ice Melting
What you need: Ice cubes, three small dishes or cups
How to do it: Place ice cubes in three spots: inside at room temperature, outside in the sun, and in a cup of water. Ask your child to predict which melts first, then observe.
Why it works: Heat transfers from the warmer environment into the colder ice. The more heat available (direct sun, warm water), the faster the ice changes from solid to liquid.
8. Shadow Play
What you need: A flashlight, toys or figurines, a plain wall
How to do it: Darken the room and shine the flashlight at a toy. Move the light closer and farther to make the shadow grow and shrink.
Why it works: Light travels in straight lines. When a solid object blocks the light, it creates a dark area on the surface behind it. Moving the light source changes the angle, which changes the shadow’s size and shape.
9. Balloon Rocket
What you need: A balloon, a long piece of string, a straw, tape
How to do it: Thread the string through the straw and tie it taut across a room. Blow up the balloon without tying it, tape it to the straw, and release.
Why it works: As air rushes out of the balloon in one direction, the balloon moves in the opposite direction. This is Newton’s third law: every action has an equal and opposite reaction.
10. Water Cycle Bag
What you need: A sealable plastic bag, a small amount of water, blue food coloring, tape
How to do it: Add colored water to the bag, seal it, and tape it to a sunny window. Check back in a few hours.
Why it works: The sun’s heat causes water to evaporate (turn to vapor). The vapor rises, cools against the upper plastic, and condenses into droplets that run back down. This experiment demonstrates a miniature water cycle.
11. Cloud in a Jar
What you need: A glass jar, hot water, hairspray, a lid or plate, ice cubes
How to do it: Pour hot water into the jar to fill it one-third. Spray hairspray briefly inside, then place a lid with ice cubes on top. Watch a cloud form inside the jar.
Why it works: The warm water vapor rises, meets the cold air near the ice, and condenses around the hairspray particles. This is exactly how clouds form in the atmosphere.
12. Dancing Raisins
What you need: A clear glass, carbonated water (sparkling water or club soda), a handful of raisins
How to do it: Drop the raisins into the glass of sparkling water and watch.
Why it works: Carbon dioxide bubbles cling to the rough surface of the raisins and lift them upward. When the bubbles pop at the surface, the raisins sink again and collect new bubbles — creating the dancing effect.
13. Static Magic
What you need: A balloon, a wool sweater or your hair, small pieces of paper or pepper
How to do it: Rub the balloon against wool or hair for 30 seconds. Hold it near the paper pieces without touching them.
Why it works: Rubbing transfers electrons from the wool to the balloon, giving it a negative charge. Opposite charges attract, so the neutral paper pieces are pulled toward the charged balloon.
14. Colorful Milk Art
What you need: Whole milk, a shallow dish, food coloring, dish soap, a cotton swab
How to do it: Pour milk into the dish. Add drops of different food coloring. Dip the cotton swab in dish soap and touch it to the center of the milk.
Why it works: Dish soap breaks the surface tension of milk and reacts with fat molecules, causing them to move rapidly. The food coloring moves with them, creating swirling patterns.
15. Air Pressure Bag
What you need: A ziplock bag, several straws, tape
How to do it: Tape straws along one side of the bag, sealing each one except the last. Close the bag and blow into the open straw to inflate it.
Why it works: Air blown in increases the pressure inside the bag. Higher pressure inside pushes outward in all directions, inflating the bag the same way air pressure fills a tire or a balloon.
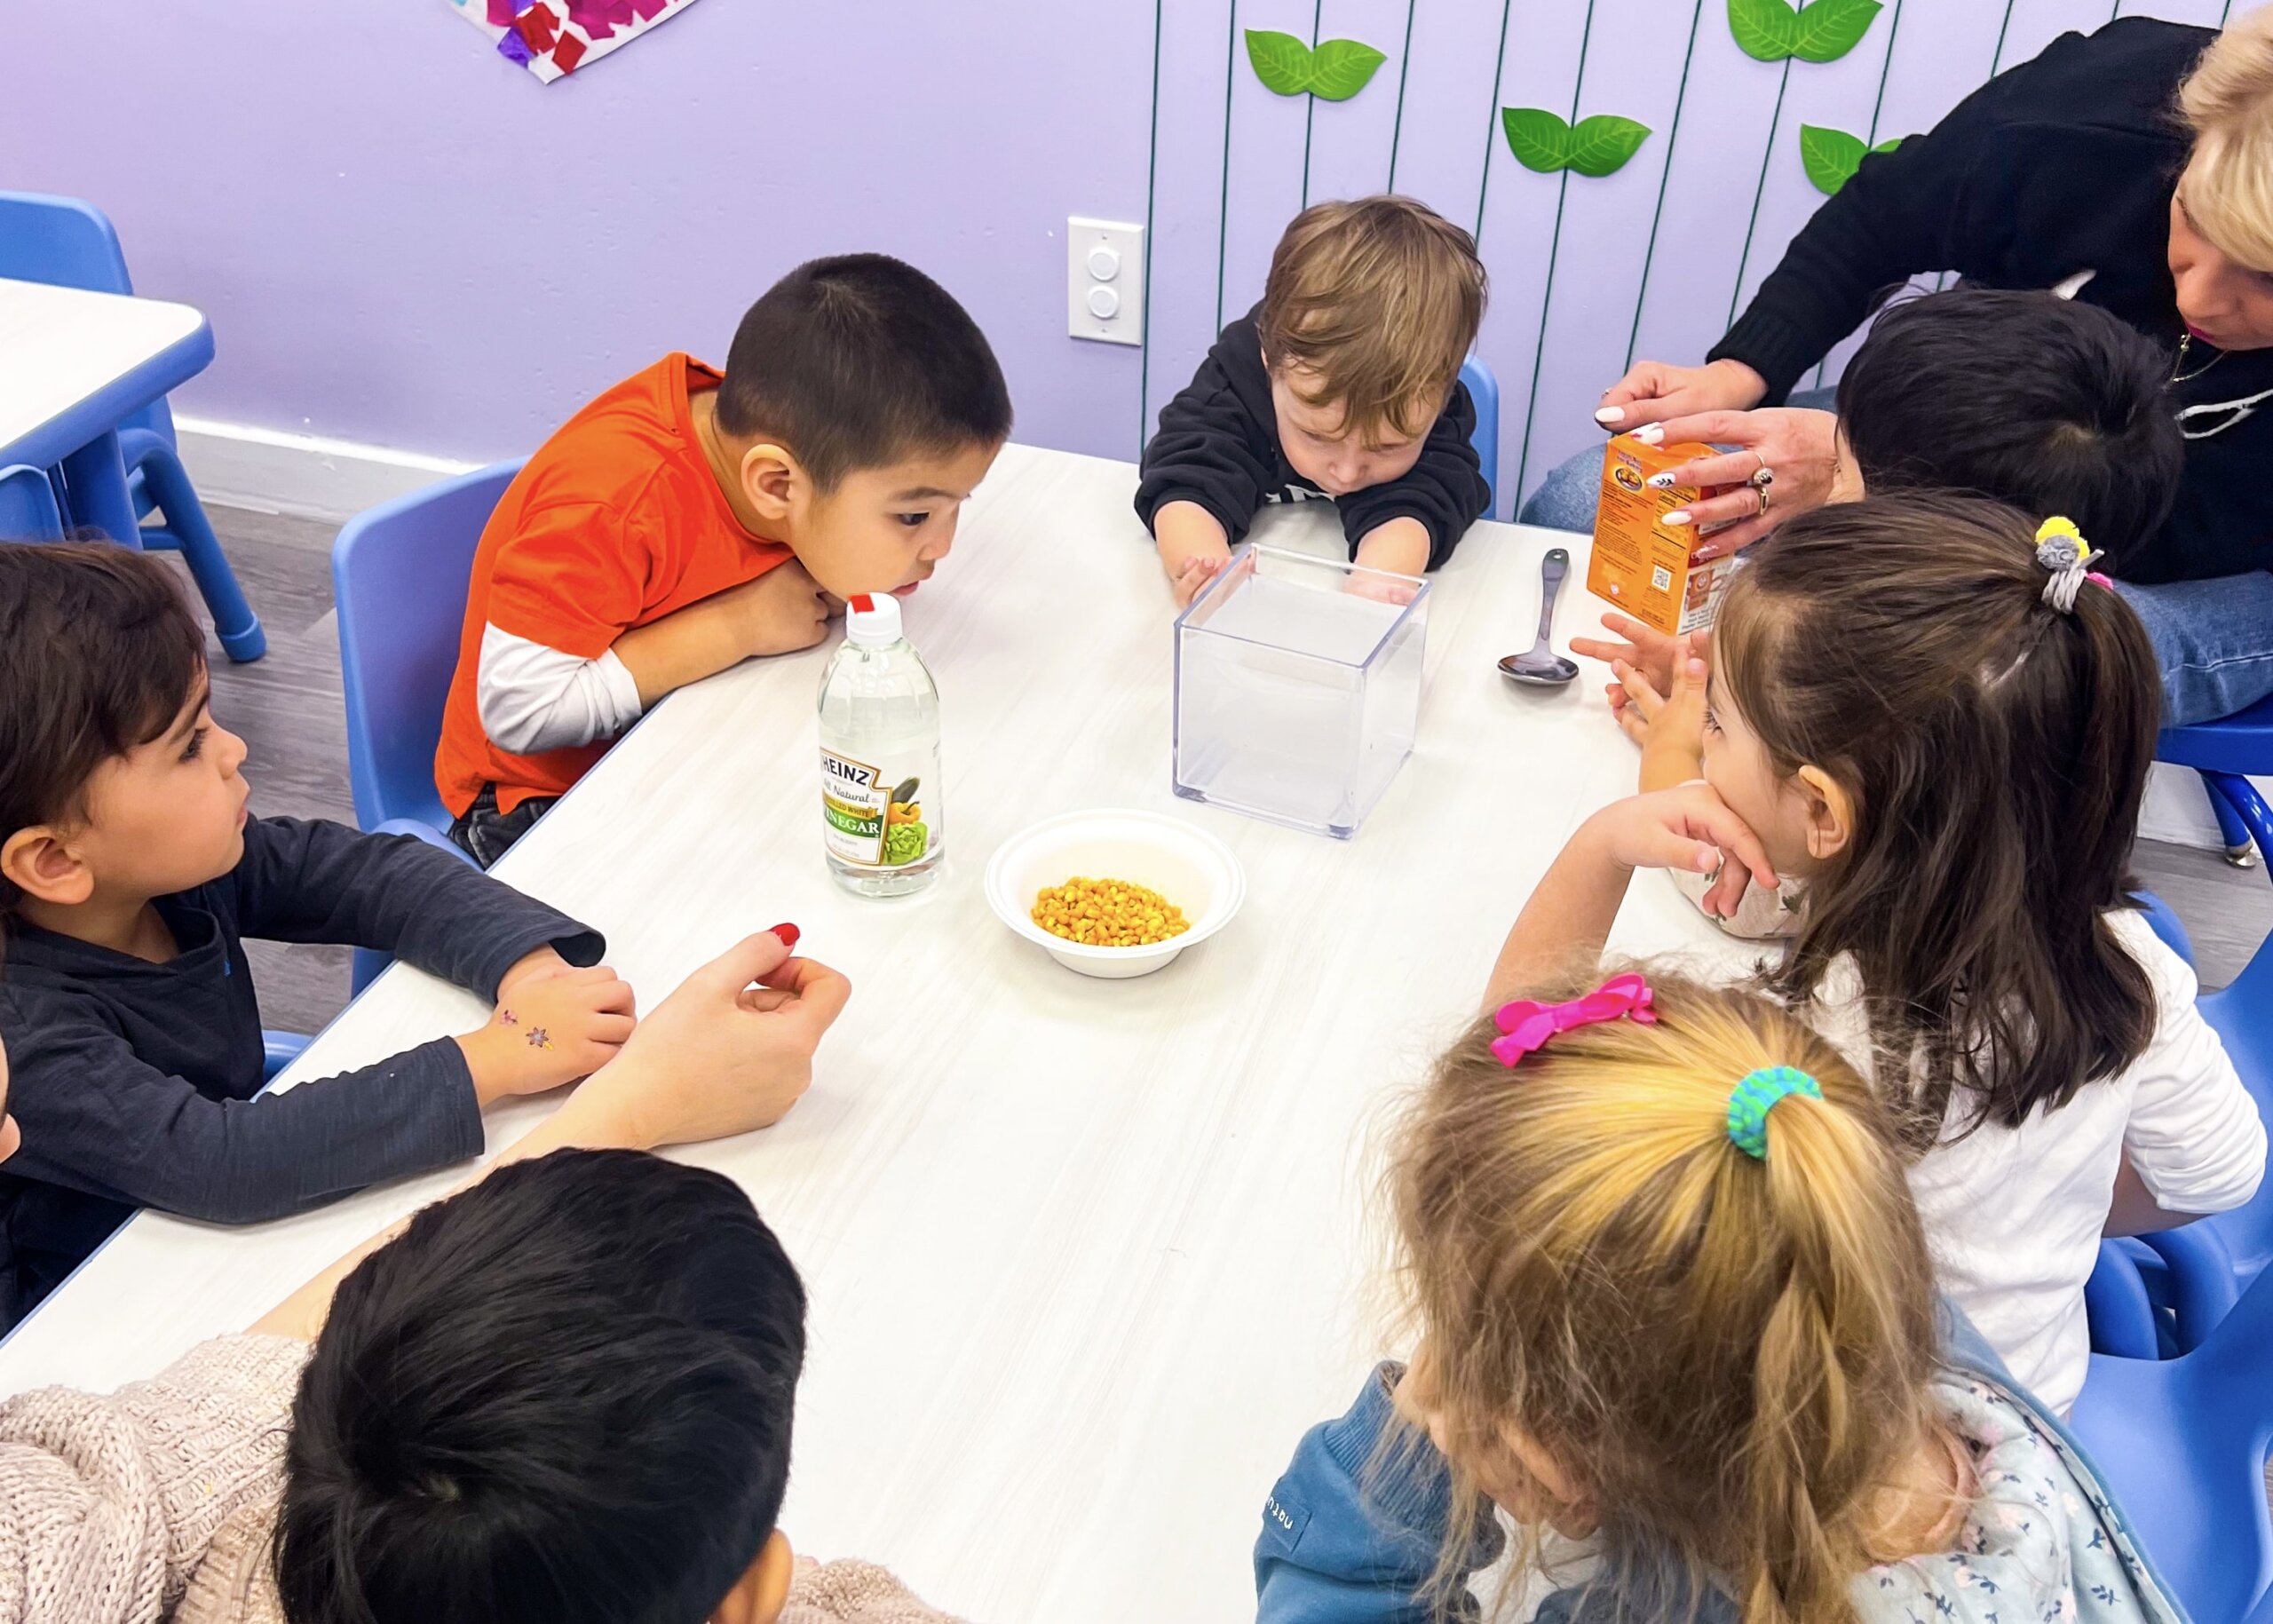
Preschool Science Experiments (Ages 3–5)
For preschoolers ready to take on slightly more complex experiments, Little Scholars’ Preschool Program offers a hands-on STEM and curiosity-based approach designed specifically for children ages 3–5. Here are some easy science experiments to do at home that introduce new scientific concepts while still being fun and manageable:
1. Lemon Volcano
What you need: A lemon, baking soda, food coloring, a spoon, a tray
How to do it: Cut the lemon in half and place it cut-side up on the tray. Add a few drops of food coloring, then a spoonful of baking soda. Stir with the spoon to keep the reaction going.
Why it works: Lemon juice is citric acid. When it contacts baking soda (a base), they react to produce carbon dioxide gas, causing fizzing and bubbling — the same reaction as the vinegar volcano but driven by a natural acid.
2. Homemade Lava Lamp
What you need: A clear bottle or tall glass, water, vegetable oil, food coloring, Alka-Seltzer tablets
How to do it: Fill the bottle one-quarter with water, add food coloring, then fill the rest with oil. Drop in a piece of Alka-Seltzer and watch.
Why it works: Oil and water do not mix because they have different densities and molecular structures. The Alka-Seltzer reacts with the water to produce CO2 bubbles, which carry colored water upward through the oil. When bubbles pop, the water sinks again.
3. Crystal Growing
What you need: Borax, boiling water, pipe cleaners, a jar, string
How to do it: Shape pipe cleaners into a star or snowflake. Dissolve 3 tablespoons of borax per cup of boiling water. Suspend the pipe cleaner shape in the solution using string. Leave overnight.
Why it works: Hot water holds more dissolved borax than cool water. As the solution cools, the water can no longer hold all the borax, so it deposits onto the pipe cleaner as solid crystals, a process called crystallization.
4. Static Electricity Butterflies
What you need: Tissue paper, scissors, a balloon, a wool cloth or your hair
How to do it: Cut butterfly shapes from tissue paper. Charge the balloon by rubbing it on wool or hair. Hold it above the butterflies without touching.
Why it works: The charged balloon induces an opposite charge in the lightweight tissue paper. The attraction between opposite charges is strong enough to lift the paper toward the balloon.
5. DIY Rain Gauge
What you need: A clear plastic bottle, a ruler, tape, scissors, small stones
How to do it: Cut the top off the bottle and invert it to act as a funnel. Tape a ruler to the side. Place stones in the bottom for stability and set it outside.
Why it works: When rain falls, it collects in the gauge, and the ruler shows exactly how many millimeters or inches fell. This is how meteorologists measure precipitation.
6. Water Xylophone
What you need: 6–8 identical glasses, water, a metal spoon, food coloring (optional)
How to do it: Fill each glass with a different amount of water. Tap the side of each glass with the spoon and listen.
Why it works: Tapping the glass causes it to vibrate. Less water means the glass vibrates faster, producing a higher pitch. More water slows the vibration, producing a lower pitch.
7. Walking Water
What you need: 7 clear cups, water, food coloring (red, yellow, blue), paper towels
How to do it: Arrange cups in a row and fill alternating cups with colored water (red, yellow, blue, then empty). Fold paper towels and bridge them between each cup. Wait 30–60 minutes.
Why it works: Water molecules are attracted to the fibers in the paper towel and travel upward against gravity through capillary action. When two colors meet in an empty cup, they mix to form a new color.
8. Simple Circuit
What you need: A 9V battery, two lengths of wire with exposed ends, a small LED bulb or flashlight bulb
How to do it: Touch one wire to the positive terminal of the battery and the other end to one leg of the LED. Connect the second wire from the negative terminal to the other leg of the LED.
Why it works: Electricity flows in a loop called a circuit. When the loop is complete, electrons move from the battery through the wire to the bulb and back. Removing either wire breaks the loop and the light goes out.
9. Solar Oven
What you need: A pizza box, aluminum foil, plastic wrap, black paper, a ruler or stick, tape, a chocolate bar or marshmallows
How to do it: Line the inside of the box with foil. Cover the opening with plastic wrap. Prop the foil-lined lid open at an angle to reflect sunlight in. Place food on the black paper inside and leave in direct sun for 30–60 minutes.
Why it works: The foil reflects sunlight into the box. The plastic wrap traps the heat inside (the greenhouse effect). Black paper absorbs heat instead of reflecting it, warming the food.
10. Glow-in-the-Dark Slime
What you need: PVA glue, baking soda, contact lens solution, glow-in-the-dark paint
How to do it: Mix 1 cup of glue with glow paint. Add 1 teaspoon of baking soda and stir. Add contact lens solution one tablespoon at a time, kneading until the slime pulls away cleanly from the bowl. Charge under a bright light, then take it into a dark room.
Why it works: Glow-in-the-dark pigments contain phosphors, substances that absorb light energy and release it slowly as visible light in the dark.
11. DIY Sundial
What you need: A paper plate, a pencil or straw, playdough, a watch
How to do it: Push the pencil through the center of the plate using playdough to hold it upright. Place it outside in the sun. Every hour, mark where the shadow falls and write the time.
Why it works: As Earth rotates, the sun appears to move across the sky. The shadow cast by the pencil moves with it, acting as a clock hand. Ancient civilizations used this principle to tell time before clocks existed.
12. Ice Fishing
What you need: A bowl of water, ice cubes, string, salt
How to do it: Lay a piece of string across an ice cube floating in water. Sprinkle salt on top and wait 60 seconds. Lift the string.
Why it works: Salt lowers the melting point of ice, causing it to partially melt. The fresh water that forms then refreezes around the string (because there is no salt there), trapping it. You can lift the cube with the string.
13. Sound Sandwich
What you need: Two craft sticks, two rubber bands, a strip of paper, a small piece of straw
How to do it: Stretch one rubber band lengthwise around one craft stick. Place the paper strip in the middle, then the straw piece near one end. Put the second craft stick on top and secure the second rubber band around the whole thing. Blow into the open end.
Why it works: Blown air causes the rubber band and paper to vibrate. Vibrations travel through the air as sound waves. The straw controls how much the band can vibrate, changing the pitch.
14. Magic Milk Explosion
What you need: Whole milk, a shallow dish, food coloring in 3–4 colors, dish soap, a cotton swab
How to do it: Pour milk into the dish. Add drops of different food coloring around the dish. Dip the cotton swab in dish soap and hold it in the center without stirring.
Why it works: Soap molecules have one end that attracts water and one end that attracts fat. When the soap hits the milk, fat molecules rush away in all directions, dragging the food coloring with them.
15. Egg Drop Parachute
What you need: A raw or hard-boiled egg, a plastic bag, string, tape
How to do it: Attach four equal lengths of string to the corners of the bag and tie the other ends around the egg. Drop from a safe height (a balcony or staircase works well).
Why it works: As the parachute falls, air pushes up against the open bag, creating drag. Drag slows the descent by opposing the downward pull of gravity. The larger the parachute surface, the more drag and the slower the fall.
Safety guidelines for at-home science experiments
Ensuring safety is paramount when engaging in kids’ science experiments, especially with young learners. Adult supervision is crucial to oversee all activities, ensuring that experiments are conducted safely and appropriately. It’s essential to follow general safety guidelines:
- Wear Protective Gear: Use safety goggles, gloves, and aprons as needed to protect from spills or splashes.
- Read Instructions First: Always understand the experiment’s steps and safety warnings before starting.
- Keep a Clean Workspace: Ensure the area is tidy and free from unnecessary items to prevent accidents.
- Use Materials Properly: Follow guidelines for each substance used; do not mix chemicals unless instructed.
- Supervise Children: Adults should always be present to oversee the experiment and assist when needed.
- Dispose of Materials Safely: Follow proper disposal methods for any chemicals or experiment leftovers.
- First Aid Kit: Keep a first aid kit nearby in case of minor injuries or spills.
- Know Emergency Procedures: Be familiar with how to handle emergencies, such as chemical spills or burns.
These practices help create a safe learning environment, allowing children to explore and discover without risk, fostering a positive and educational experience in simple science projects.
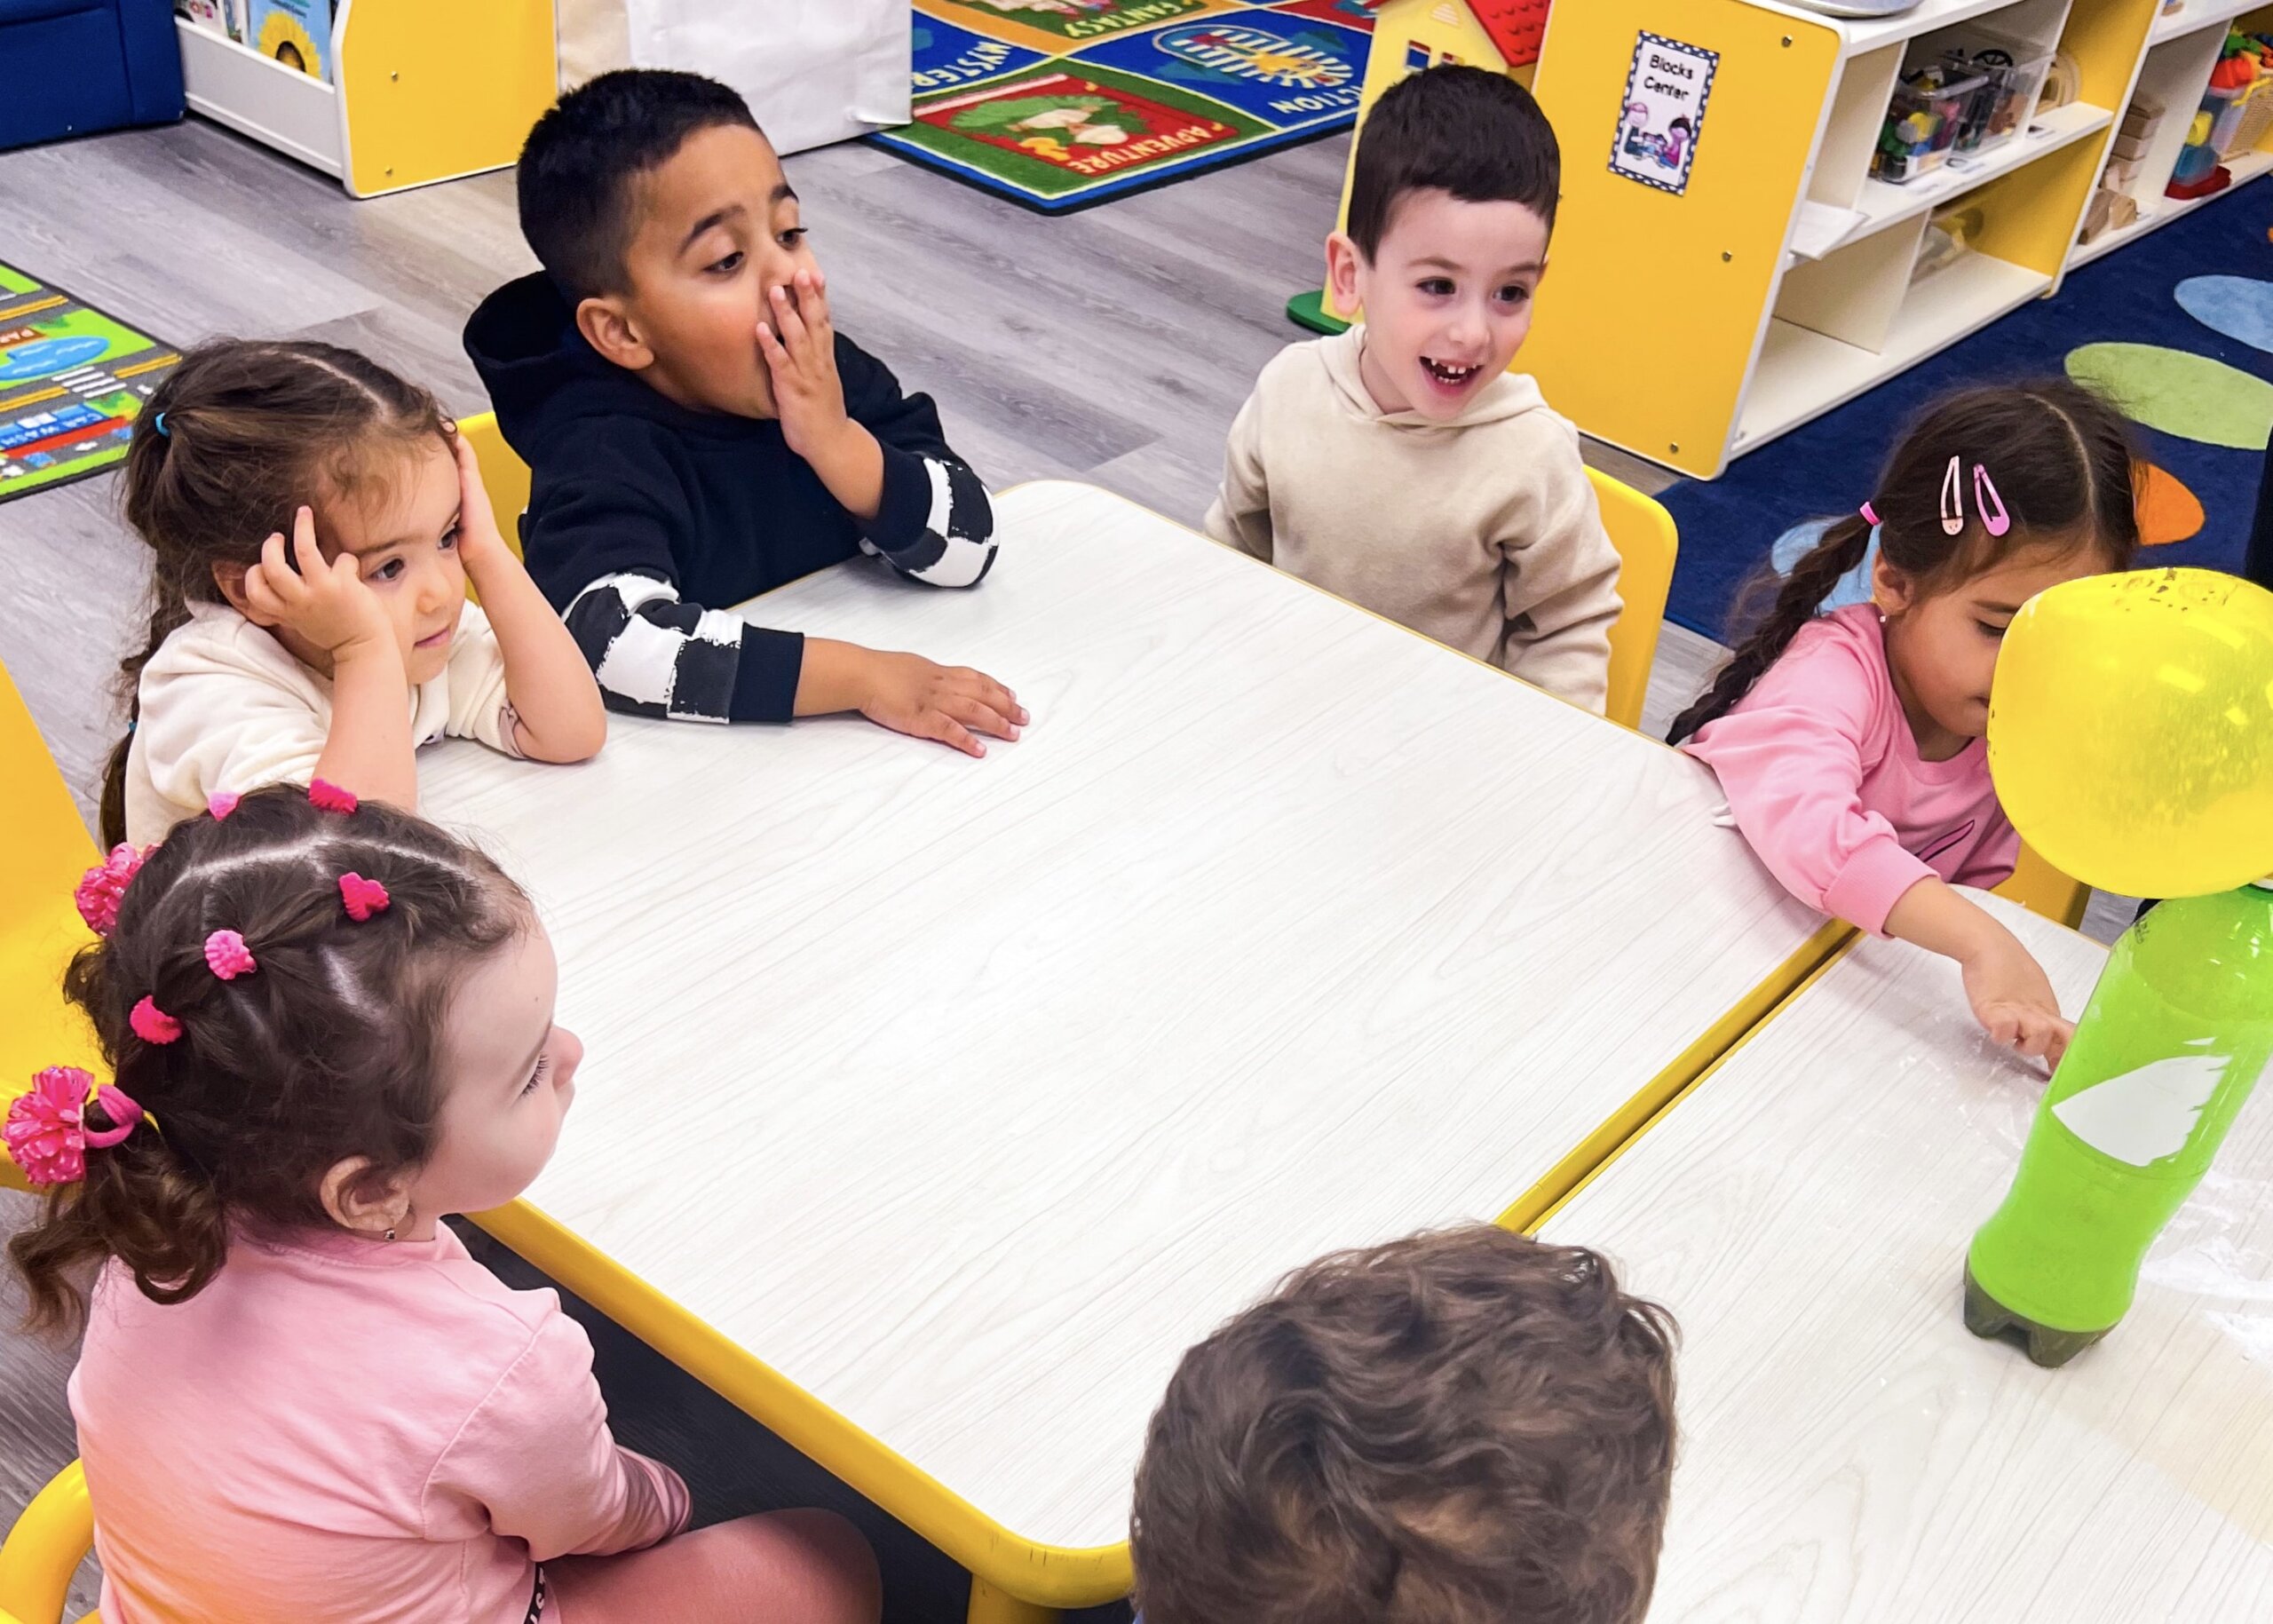
How to engage kids throughout the experiment process
Making science fun is about sparking curiosity and encouraging exploration. Engage kids by turning experiments into storytelling adventures, where each step is part of a grand exploration. Incorporate the scientific method by asking children to predict outcomes (hypothesis), observe what happens (observation), and discuss why it happened (conclusion). Use real-world connections to make concepts relatable and celebrate every discovery, fostering a love for learning and inquiry.
Resources: Science Experiments for Kids
For kids who are eager to dive deeper into the world of science, the internet and bookstores are treasure troves of knowledge. Websites like National Geographic Kids, Science Kids, and the NASA Kids’ Club offer a wealth of interactive games, experiments, and educational articles.
Books such as “The Everything Kids’ Science Experiments Book” by Tom Robinson and “National Geographic Little Kids First Big Book of Why” by Amy Shields provide engaging explanations and activities.
Our website features more learning activities for kids that can help parents to significantly enrich a child’s understanding and enjoyment of science.
Conclusion
As we conclude our journey through the TOP 30 Easy DIY Science Experiments for Kids, it’s important to recognise the power of integrating science into everyday activities at home. Each experiment, carefully selected and designed for young learners, provides a unique opportunity to explore the wonders of science in an engaging and hands-on manner.
Explore Little Scholars Daycare Programs to inspire further and cultivate your little one’s love for science, paving the way for a future where they continue to question and discover.
Also check out some ideas for Hands-on learning & experiments in the related post.
FAQ on DIY science experiments for kids
Which experiments are best for toddlers (2–4)?
Great science experiments for 4 year olds include Sink or Float, which investigates buoyancy with objects in water; Magic Milk, which uses soap to make food coloring swirl in milk; and baking soda and vinegar, which produces chemical reactions like volcanoes.
Which experiments are best for preschoolers (3–5)?
Classic activities like Rainbow Bubbles, Dancing Raisins, the Walking Water experiment, and Baking Soda & Vinegar Reactions are among the best science experiments for preschoolers (ages 3–5) because they allow for hands-on learning using basic items.
What household items will I need for most experiments?
Common kitchen and cleaning supplies such as baking soda, vinegar, food coloring, water, vegetable oil, plastic bottles, and paper towels are required for many science experiments at home. Having supplies like glue, contact lens solution, Alka-Seltzer tablets, and a range of containers is also helpful for more complex projects like slime or lava lamps.
Are these safe to do at home, and what supervision do kids need?
As long as safety measures are taken, fun science for kids is safe to conduct at home. Keep dangerous items like medications and sharp tools out of young children’s reach and watch them at all times, especially near water, small objects, or anything that could spill.
How long does each experiment take, and how can I keep cleanup easy?
Easy STEM activities typically take 5-20 minutes, with some, like Ice Fishing, being completed quickly and others, like Sundials, requiring more time. Engage kids in easy cleanup chores and, if you can, take messy activities outside.
What should I do if an experiment doesn’t work the first time?
Remain composed and view failed kindergarten science projects as a learning opportunity; after all, science is all about trying and testing. Verify the procedures, supplies, and measurements one more time because even the smallest details can have an impact.